Wednesday 9 December 2020

Dark themed snowflake card

Dark themed snowflake card


PRODUCTS USED:
Picket fence distress ink
Broken China distress oxide
Black soot distress ink
Versafine onyx black
Holographic medium
White posca pen
6X6 card base

HOW TO MAKE:

On a black card panel just slightly smaller than your card base swipe the picket fence ink pad down the page to begin the background...

Then stamp over with some snowflakes...

Use the snowflake multi ink'able and add the holographic medium through it with a palette knife...

Stamp out a sentiment and ink the edges with black soot distress, add small snowflake details. Then stamp and fussy cut the doodle flake, colour with broken China oxide and a water brush...

add white posca pen detailing to accent it...

splatter some white posca paint over the top.

That's the card complete. 
Hope you like
❤️
Thanks for looking

Vintage style Christmas card

Vintage style Christmas card


PRODUCTS USED:

6X6 card base
Distressing tool
Distress spray
Acorn brown Nuvo ink
Versamark ink
Gold embossing powder
Gold paint
Ribbon
Black archival ink
Tea dye distress ink

HOW TO MAKE:
Distress the edges of a card panel that is just slightly smaller than 6x6...

Place the snowflake mask over the card panel and spritz with vintage photo distress spray...

Stamp the frosty words around the background to add interest, I used Acorn brown Nuvo ink...

Cut a strip of card the same width as your card panel, heat emboss the snowflake border into it in gold...

Blend tea dye distress inkover top...

Die cut some small circles, cover in gold paint...

Stamp the relevant sized snowflakes ontop using an archival ink...

Add one of the small word winter sentiments and a bow... And you're finished! 

Hope you like 
❤️
Thanks for looking

Dream it wish it do it!

Dream it! Wish it! Do it!


PRODUCTS USED:

Mount board panel
Crackle texture paste
Archival ink
Ink sprays
Gilding polish 
Ripped book page
Camel lash twine
Dimensional glue

HOW TO MAKE:
Stamp the crackle background over the entire panel...

Spritz with ink sprays, I used pink and yellow...

Add a smear of crackle texture paste done the centre...

Accent the texture with gilding polish, also around the edges to frame it...

Stamp butterfly vertically and spray some more ink at the top and let it run down into the texture...

Glue on a ripped piece of book page and then add some offset dots with texture paste for more interest...

Stamp and die cut the dragonflys and ticker tape sentiment, cut some camel eyelash twine and use the dimensional glue to adhere the twine on (if you put it on the back of the die cuts it will hold in place) subtly colour the dragonflys and sentiment with a water brush and spray inks...

You're done! 

Hope you like 
❤️
Thanks for looking

Inky Explore autumn card

Inky Explore Autumn card

PRODUCTS USED:
5x7" card base & layers
Ink sprays
Twine
Distress ink/oxides
Versamark clear
Gold embossing powder
Potting soil archival ink

HOW TO MAKE:

On a base layer place the inner parts of the 3 leaf easy frames (maple/oak/nettle) and spritz with a brown and yellow ink...

remove to reveal your white space and heat dry the ink...

Lay the outer of the frames around the white spaces and ink with fossilized amber and spiced marmalade distress inks/oxides...

Keeping the outers of the frames in place - over stamp in the leaf window with the ledger stamp using a brown ink (I used potting soil archival ink) only ink it up partially and do this free hand without a block as it's easier to control where you stamp the detail...

Using one of the border elements from the Doodle art mushroom stamp set, stamp some background detail using versamark clear and gold embossing powder - this is the background complete...

Stamp out the mushrooms in the potting soil brown and colour in - I used candied Apple and spiced marmalade distress with a water brush... 

Fussy cut them...

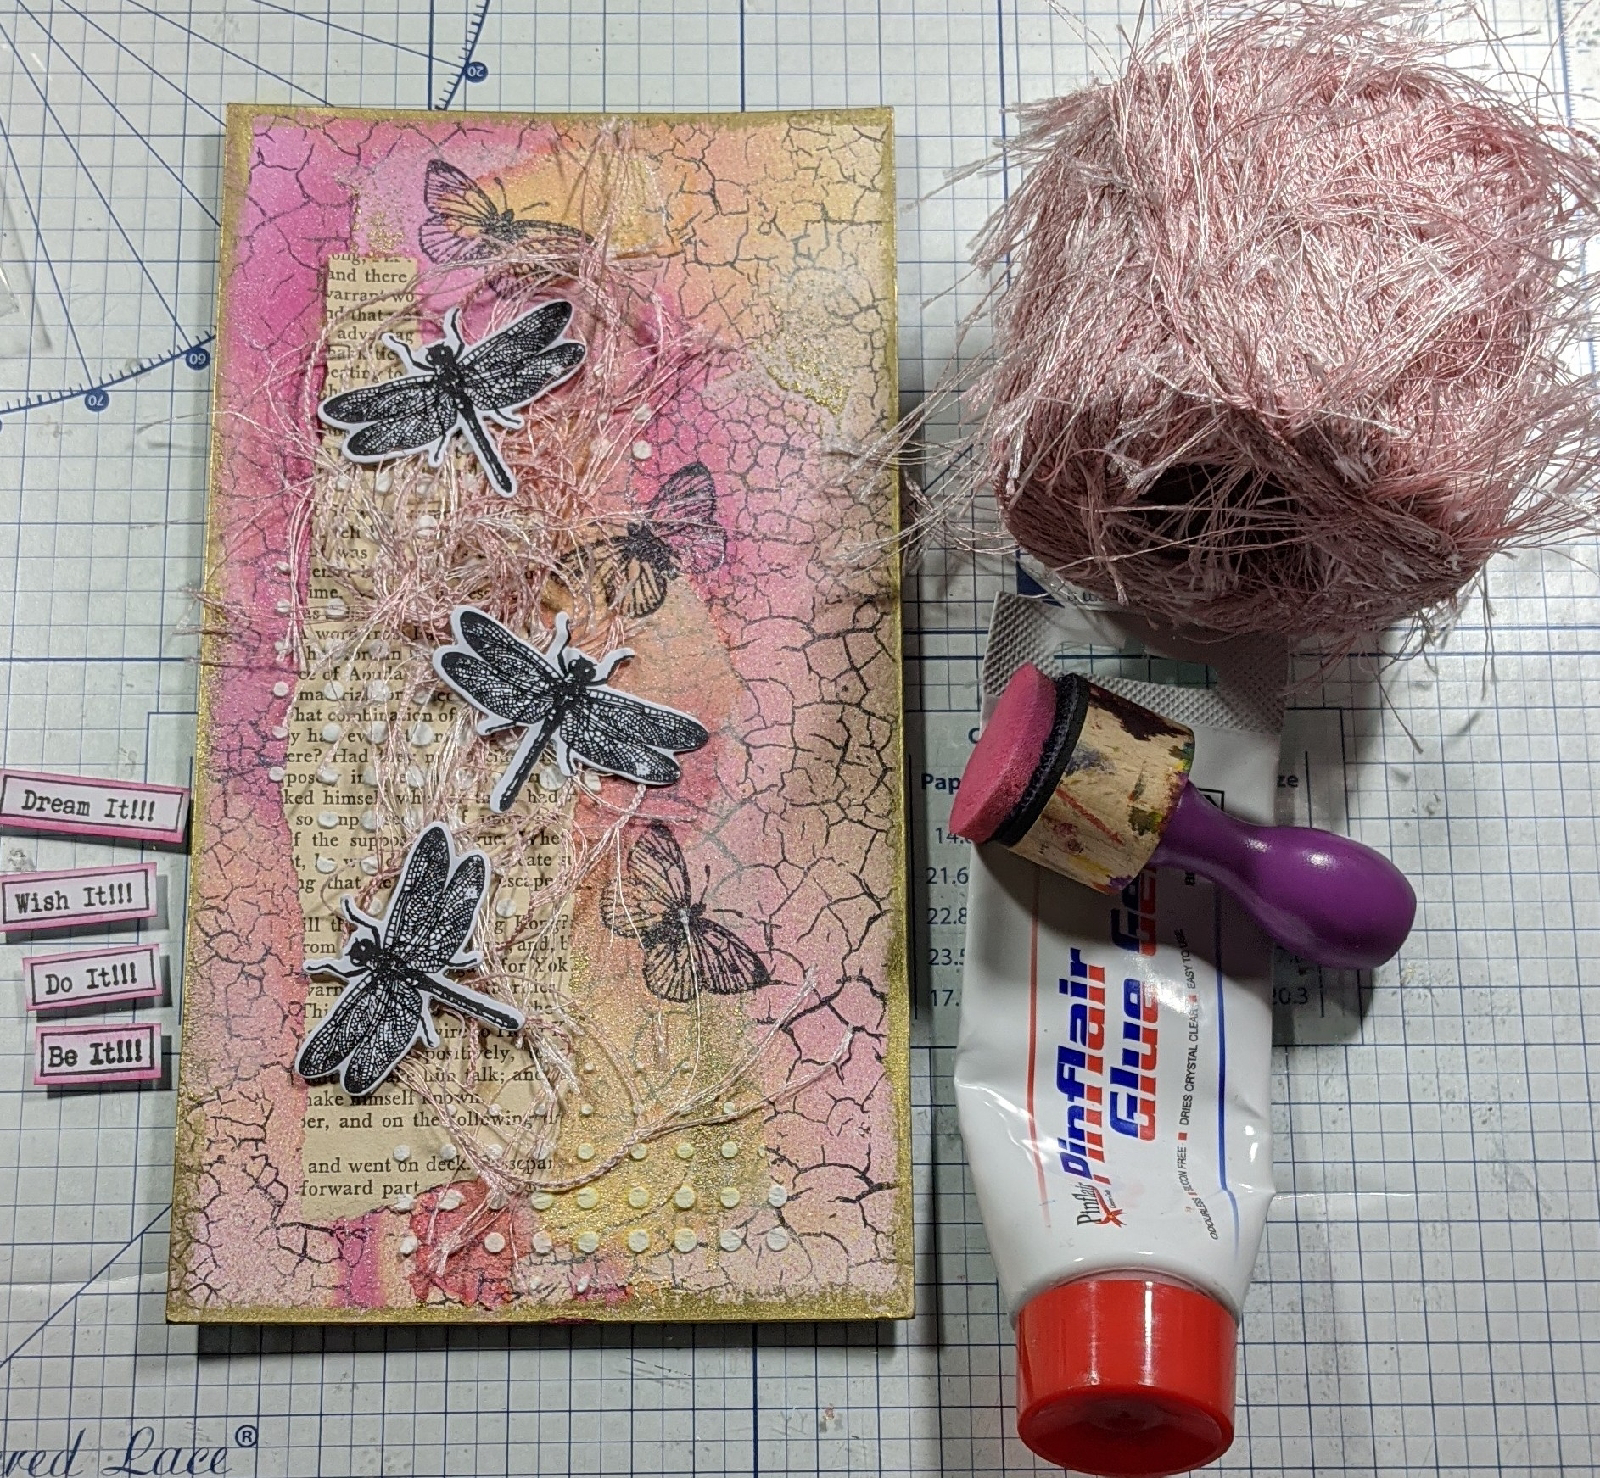
Add some twisted twine then glue the mushrooms down using a 3D Silicon glue, I like the Pinflair one. Then stamp the word Explore from the travel words, colour the edges, mount it and glue it on to finish off your card. 

Hope you like 
❤️
Thanks for looking

Seahorse tag

Seahorse tag


PRODUCTS USED:

Manilla tag
Izink ice
Versafine onyx black
Holographic medium

HOW TO MAKE:

stamp the seaweed stamp from the seahorse set around the border of the tag in twisted citron green...

add dot details using the offset ink'able and peacock feathers oxide...

stamp the seahorse in black versafine ink...

ink the edges of the tag in black soot distress to frame the design...

use a palette knife and spread some of the izink ice over the top of the tag at random to give textured strokes. The plastic feel gives a watery effect...

add holographic medium to the seahorse so he sparkles, let it dry. Then add the sentiments to finish. 

Hope you like 
❤️
Thanks for looking